THERE ARE 3 BASIC STEPS TO VINYL PRODUCTION
The process of making records hasn’t changed much since its inception, but the details of how a recorded sound gets onto a 12-inch disc and placed under your turntable is still confusing. Let’s take a look at the three steps that go into the vinyl production process; the first two we offer in-house!
LACQUER CUTTING
FIRST, SOME BASICS
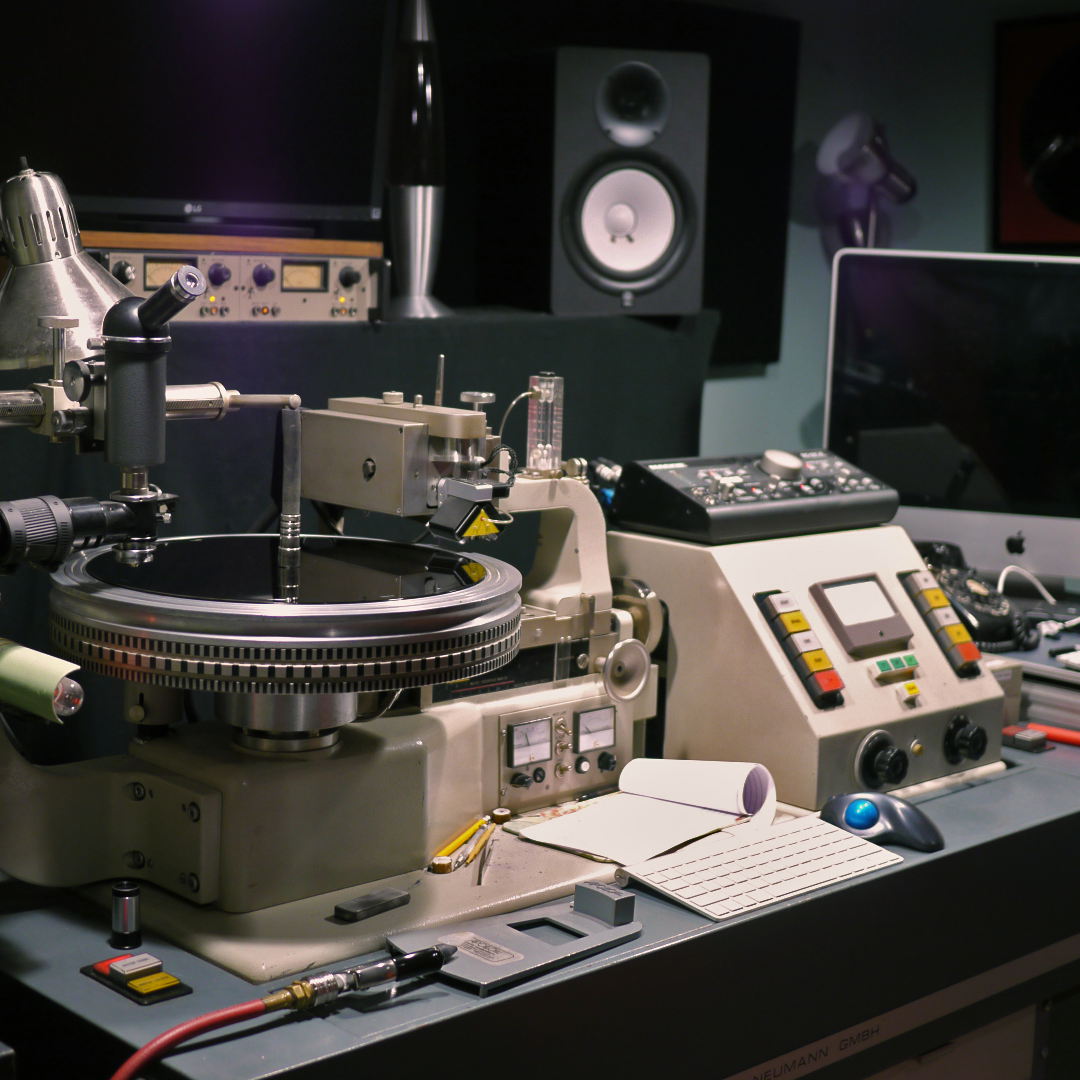
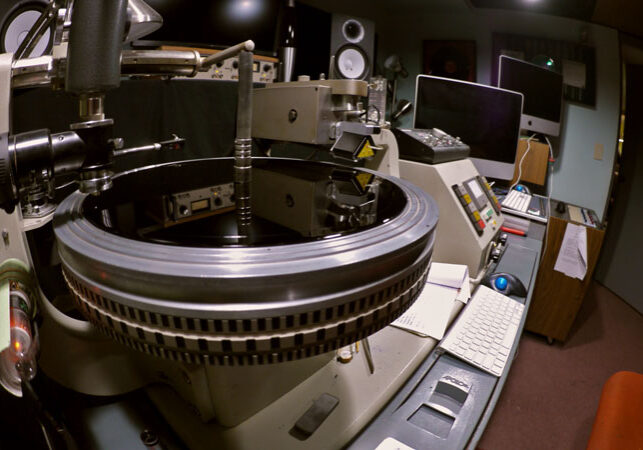
Lacquer cutting, often referred to as mastering, is the process in which the master recordings (either digital files or recordings on tape) are transferred onto a lacquer disc using a record-cutting lathe.
CUTTING LATHE
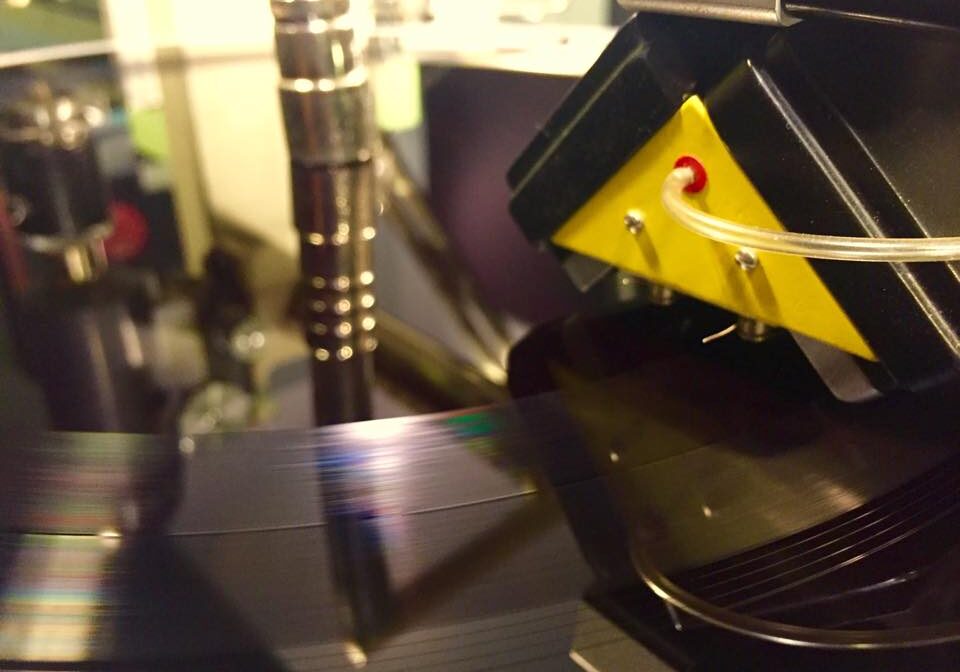
We use a 1973 Neumann VMS-70 to cut our lacquers, which is so big it gets its own room. The lathe has a cutting head with a very sharp and precise stylus that moves laterally across the record, cutting grooves into the lacquer as it rotates on the turntable platter.
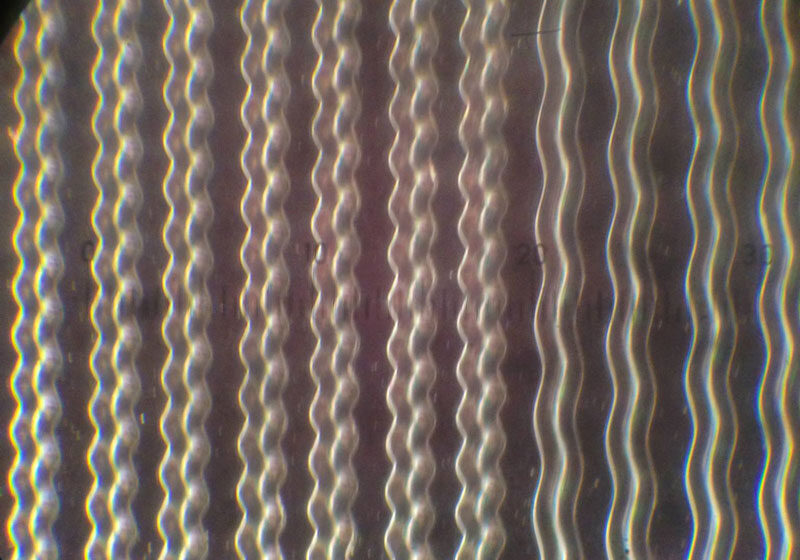
At this stage, our cutting engineer is keeping a close eye on the grooves to make sure they’re not running too close together – this will cause errors in playback. The goal is to find a balance between cutting loud enough and at enough depth that the vinyl will sound great upon playback without any pops, clicks, or sonic impurities.
LACQUER DISCS
Lacquer discs (sometimes called acetates) have an aluminum base with a thin layer of lacquer on top – it’s malleable and soft, and has a small amount of spring-back to it.
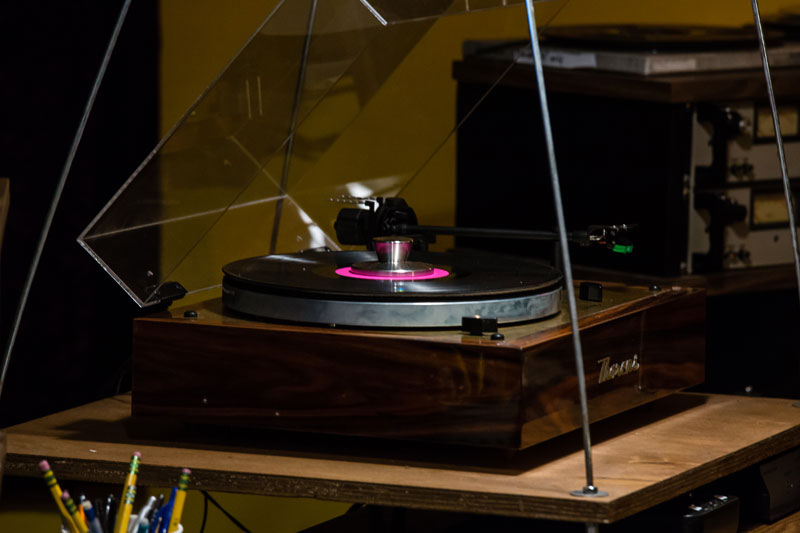
Cutting a lacquer is creating a temporary master. Even though you can place a lacquer on your turntable and listen to it, you won’t want to. Every time you do, it degrades in quality, adding pops and skips onto the disc. We cut reference lacquers for this exact reason. It's also why we electroplate our lacquers within 24-48 hrs after being cut. The longer they sit, the more susceptible they are to damage.
Lacquers have only one side that you can cut onto, so for a standard 2-sided 12″ LP, you would need two lacquers cut and two stampers made – one for the A side, and one for side B.
LENGTH
Since vinyl is a physical medium, it has limitations on length – the louder you want the music on the record, the larger the grooves, which equates to more physical space you’re going to occupy. So, at a slower playback speed (33), you can fit more music on the disc, but that typically means you can’t cut the grooves as wide as you would at 45rpm, which impacts the sonic quality of the record.
RECCOMMENDED LENGTHS:
ELECTROPLATING
WE HAVE LACQUERS, NOW WHAT?
Plating, or electroplating, is the process of creating metal parts, or stampers, from master lacquers for the replication of vinyl records.
SILVERING
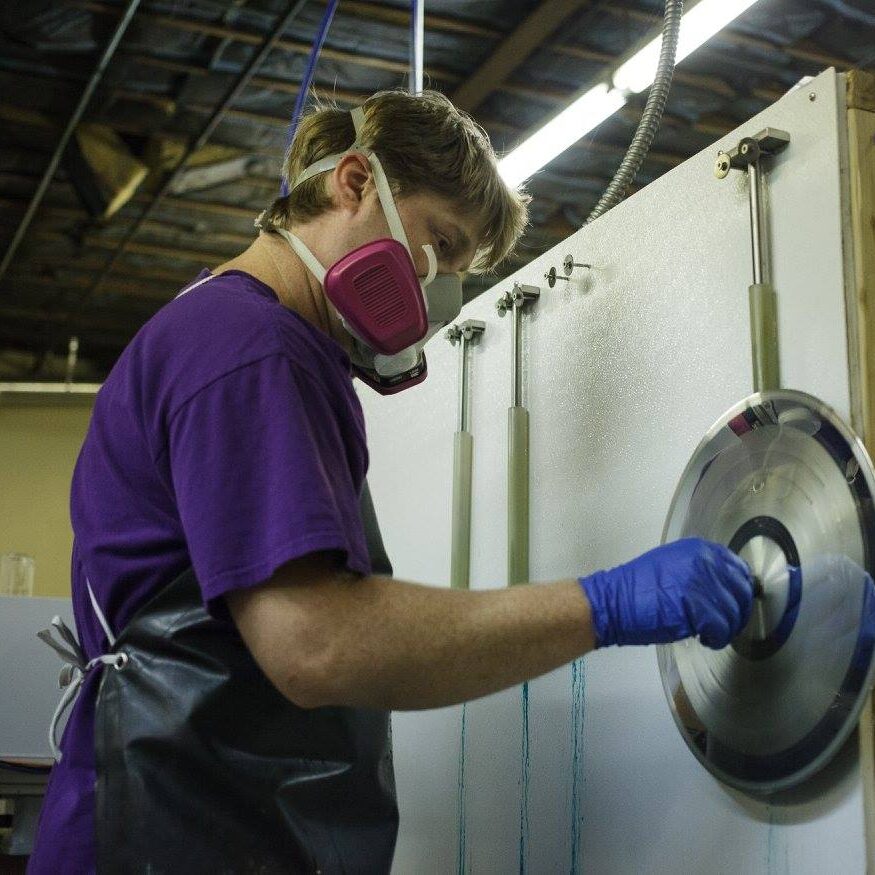
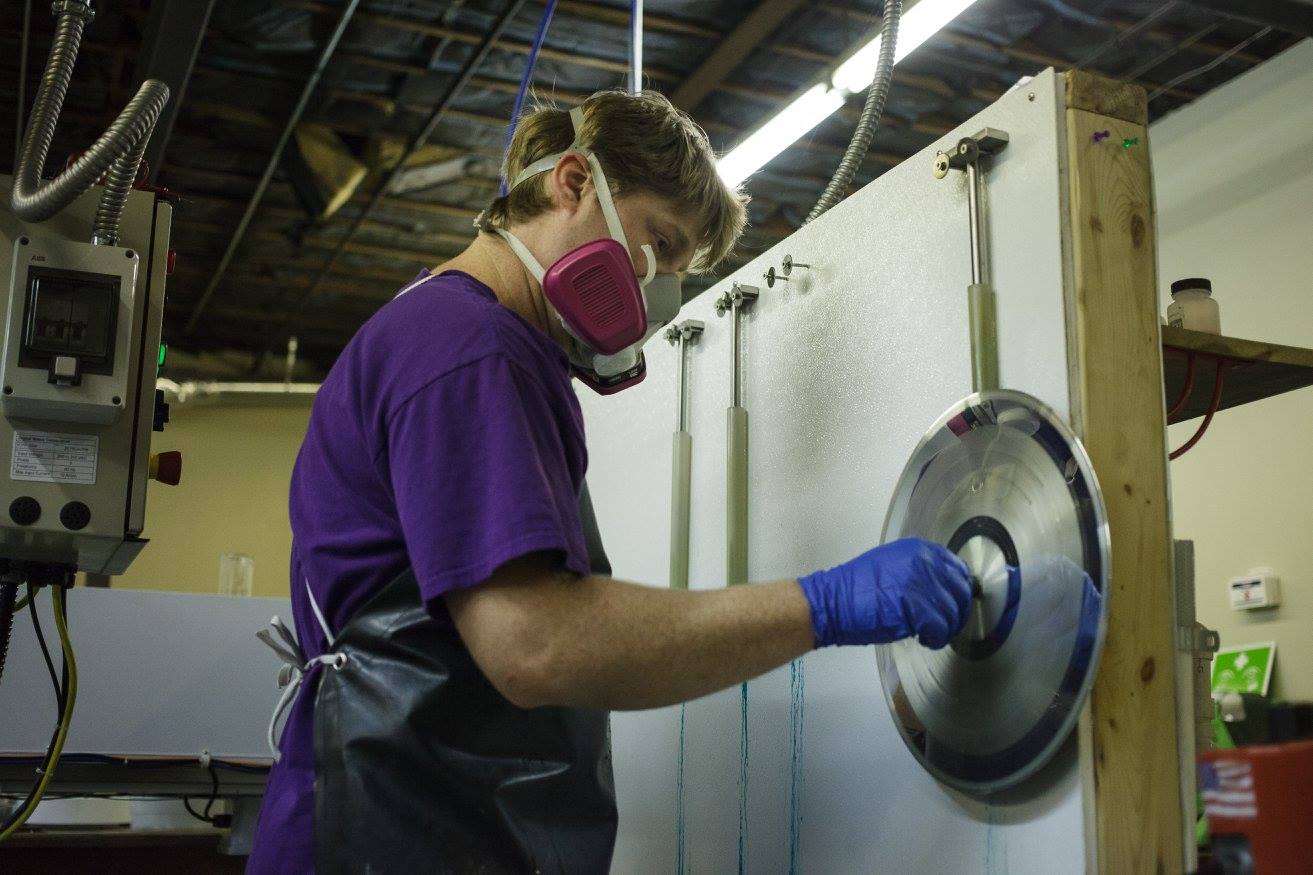
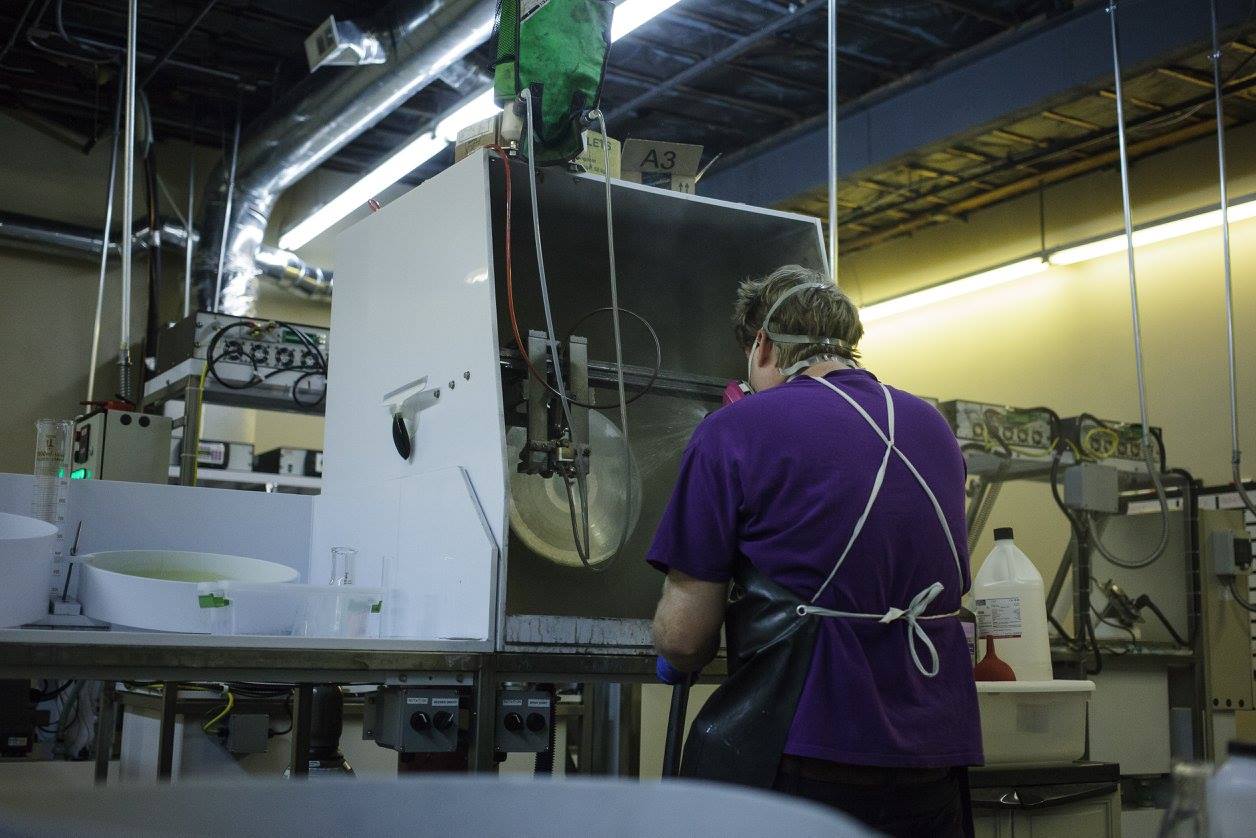
Once the lacquers are ready to go, they are cleaned and sprayed with a thin layer of silver and then placed into a series of electroplating baths.
NICKEL BATH
This process involves using an electrically charged nickel solution to transfer metal onto the surface of the silvered lacquer. It’s done in two stages: the first is building up a base layer on the disk at a lower amperage (current), and the second is thickening up the plate at a higher current to the desired thickness.
FATHER
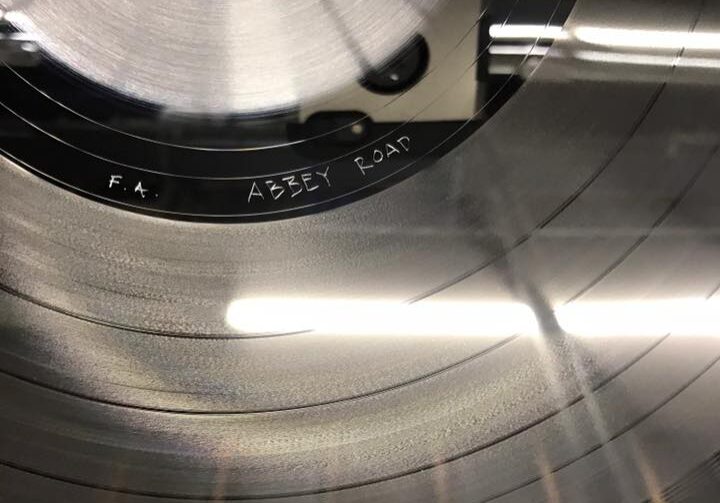
At this stage, the lacquer is destroyed once the metal stamper is pulled off of it. Now we have a negative copy of the lacquer, which is called the father. From here, we use the father to make a mirror copy of itself in a similar way we used the lacquer to make the father. This is called the mother. If you want to think about it in terms of 3rd grade biology, the father has ridges and the mother has grooves.
MOTHER
Since the mother is a negative of a negative, it’s essentially an exact copy of the lacquer, but made of metal. It is often played back on a turntable in order to check for any impurities on the before moving on.
STAMPERS
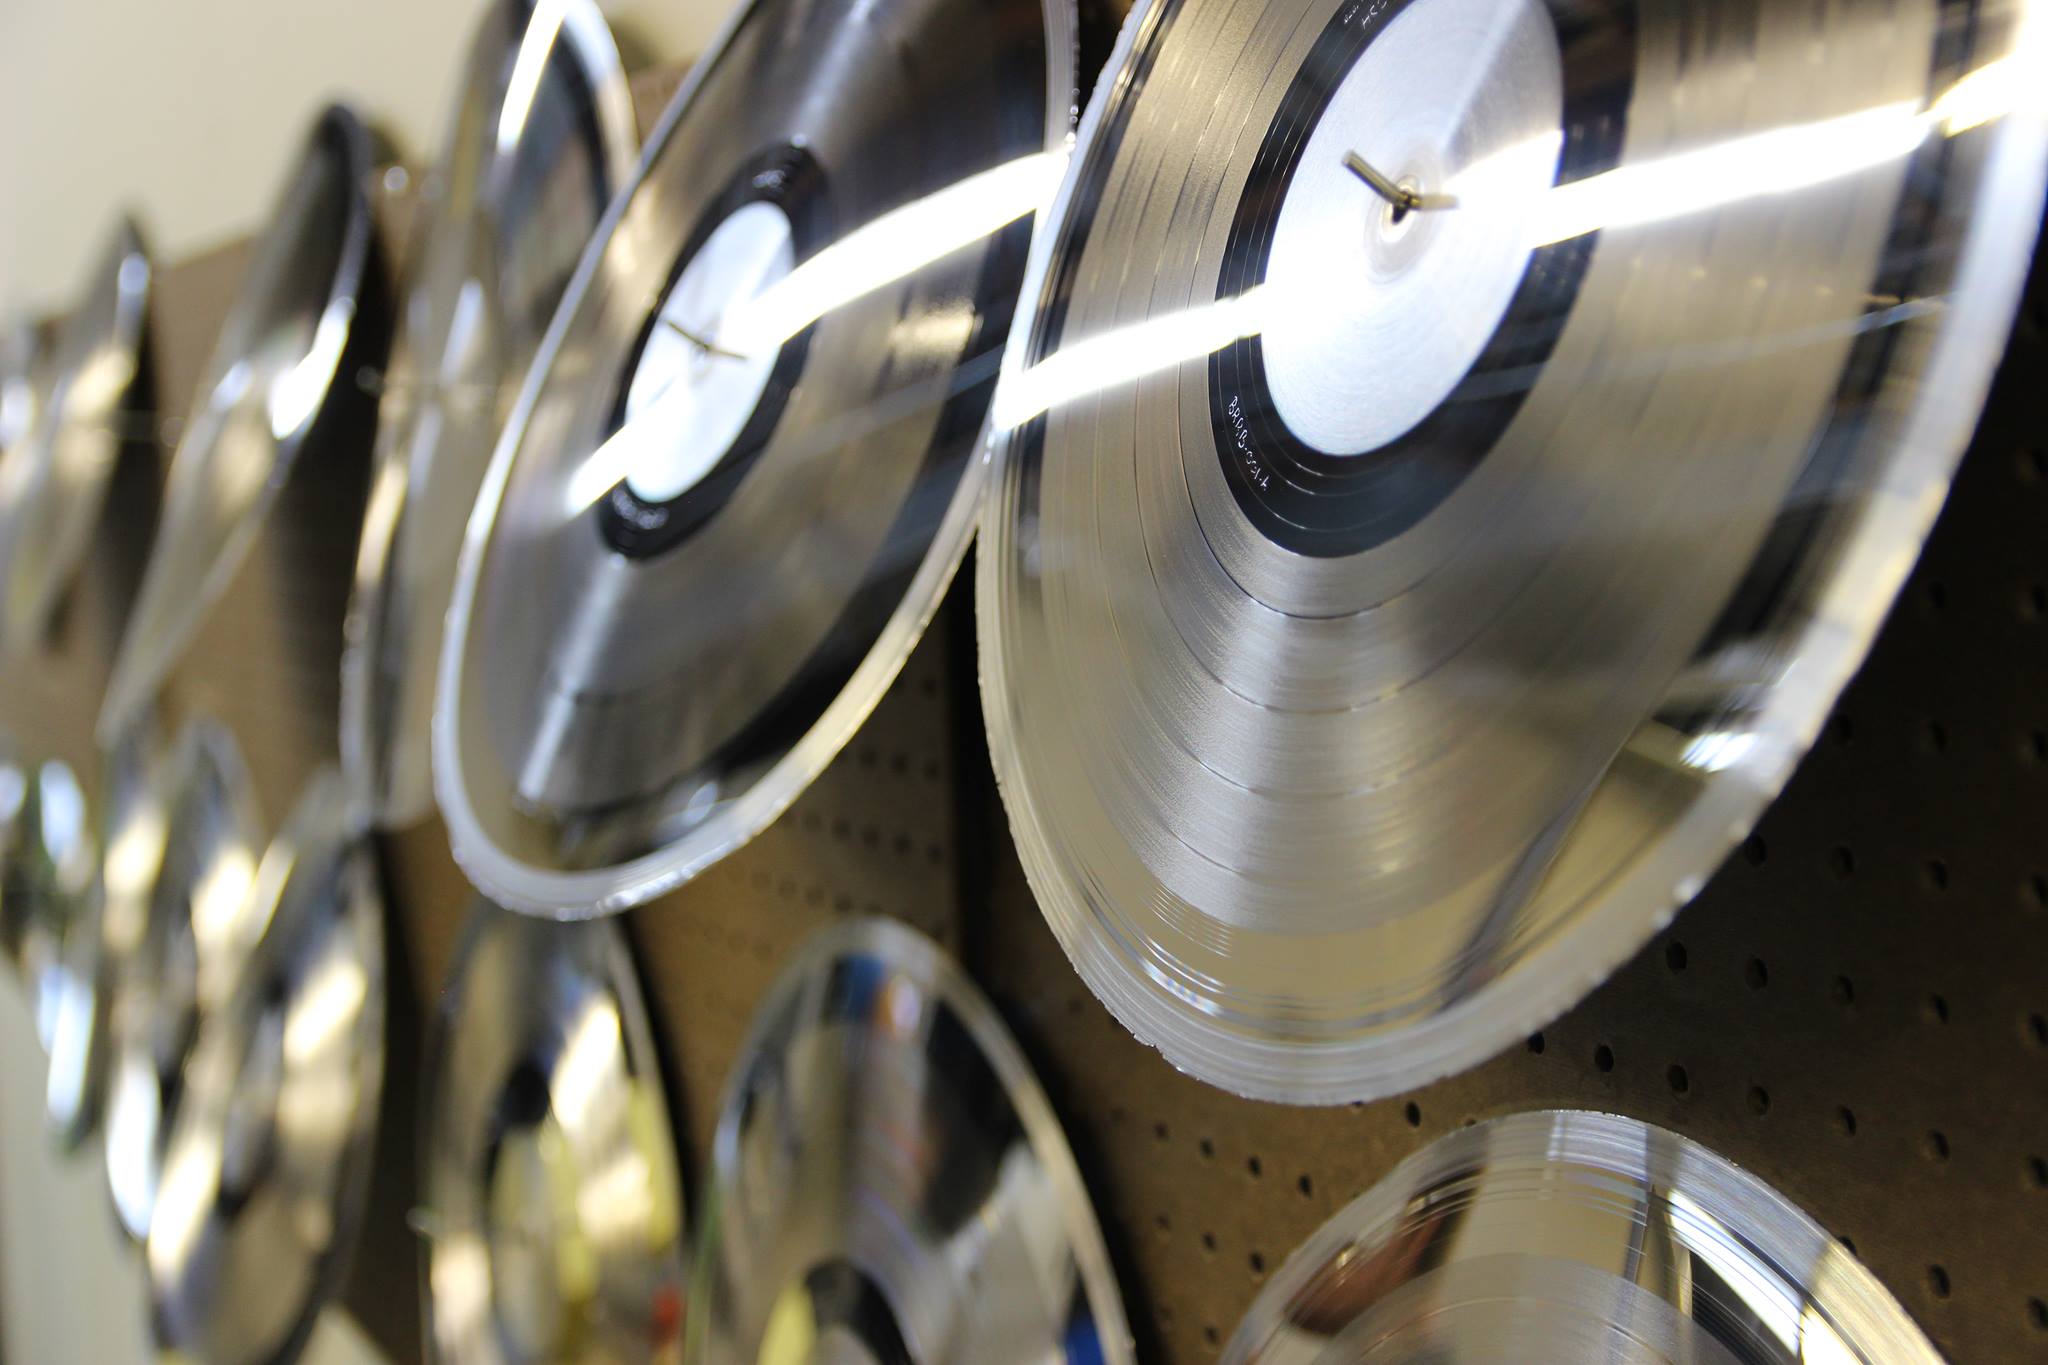
Once the father and mother have been made, the mother is cleaned and then plated to create stampers. These are similar to fathers in that they are negative copies of the lacquer and have ridges. Stampers are sent to the pressing plants and are used to actually stamp out, or press, vinyl records. From the father we can create 3 mothers, and from each mother, 5 stampers. And each stamper can be used to make 300-700 vinyl records!
PRESSING
LAST BUT NOT LEAST
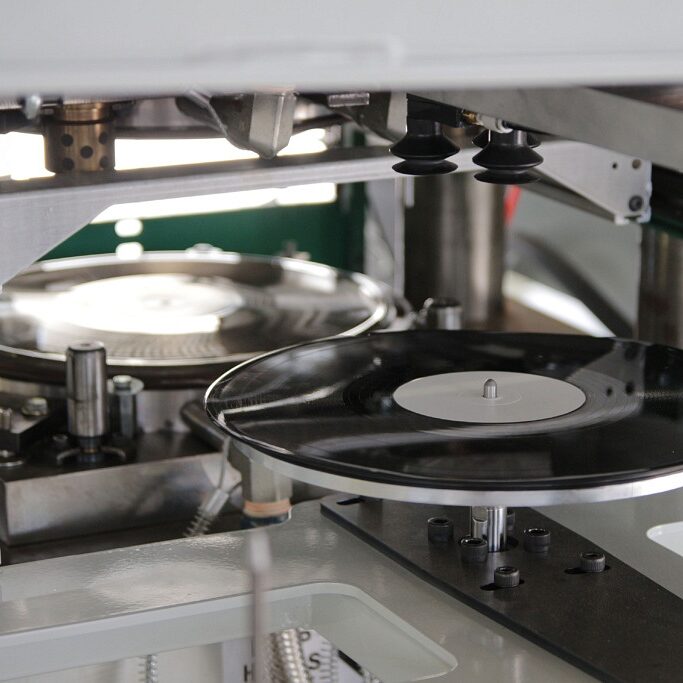
The third step of vinyl production is pressing, which involves using a large piece of machinery called a record press which aides in the process of creating the physical disc. This is the only step of vinyl-making we cannot do in house!
BISCUIT
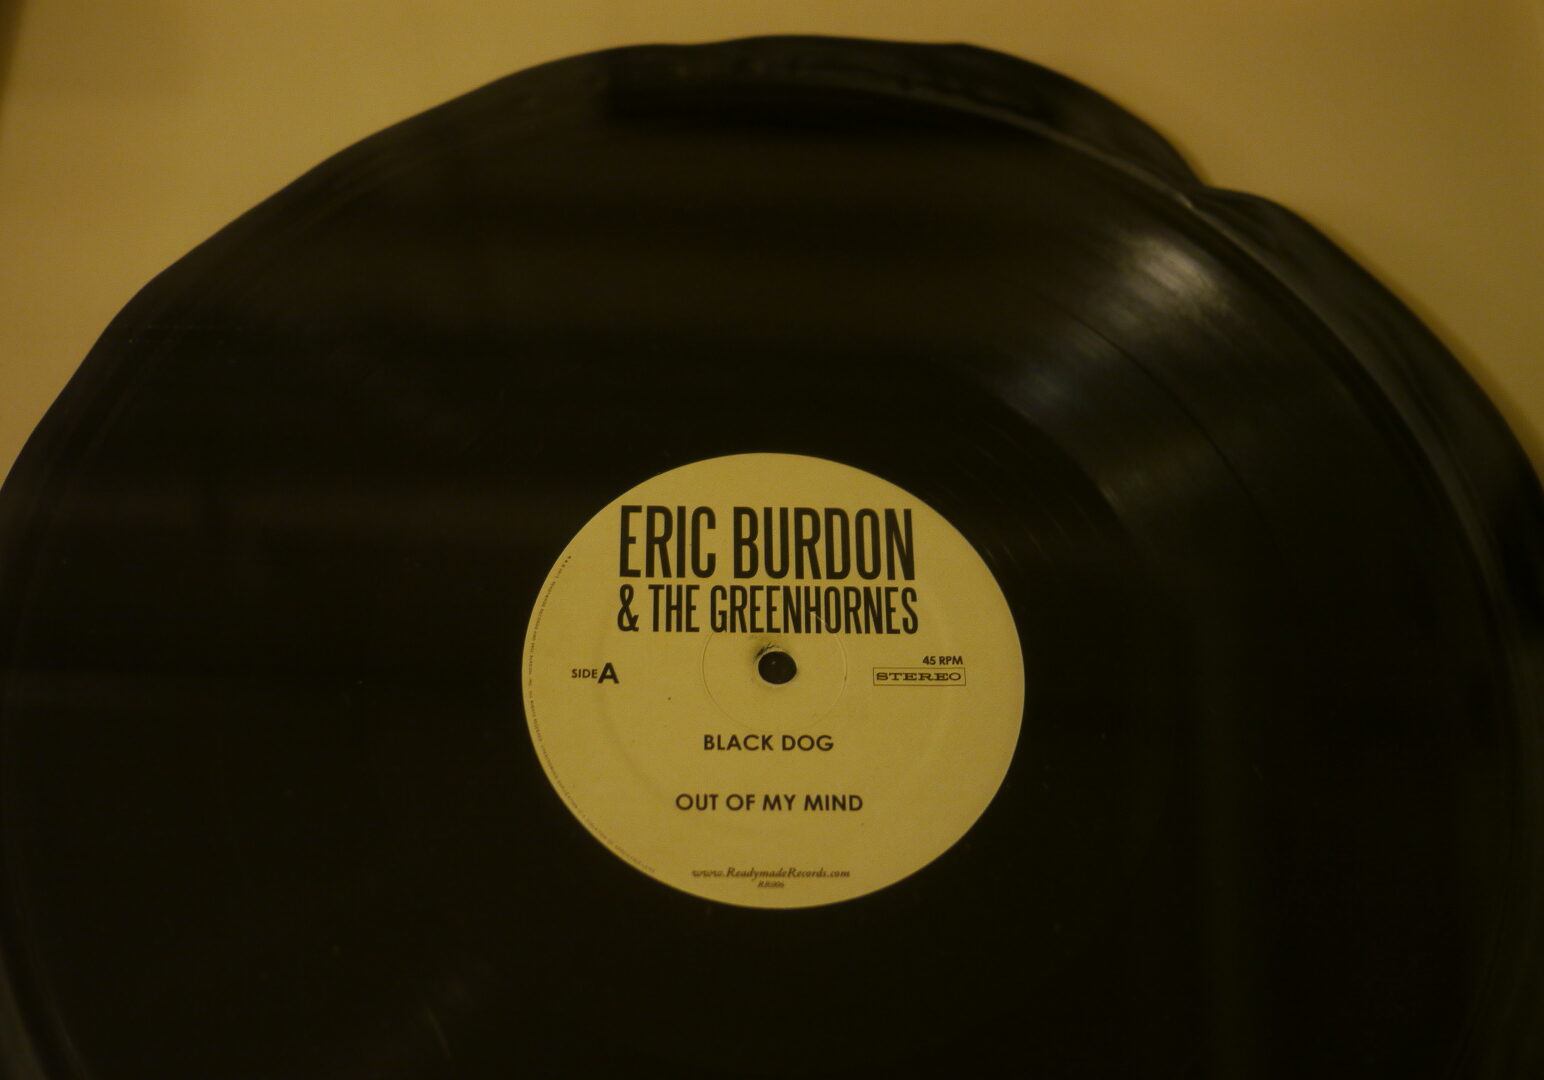
The stampers for each side of the record are fastened onto the top and bottom of the press and then vinyl pellets are heated up to form what is called a biscuit - complete with labels, and placed inside.
THE PRESS
The press does it’s thing and exerts the necessary pressure to ensure the vinyl is spread evenly and over all the ridges of the stampers.
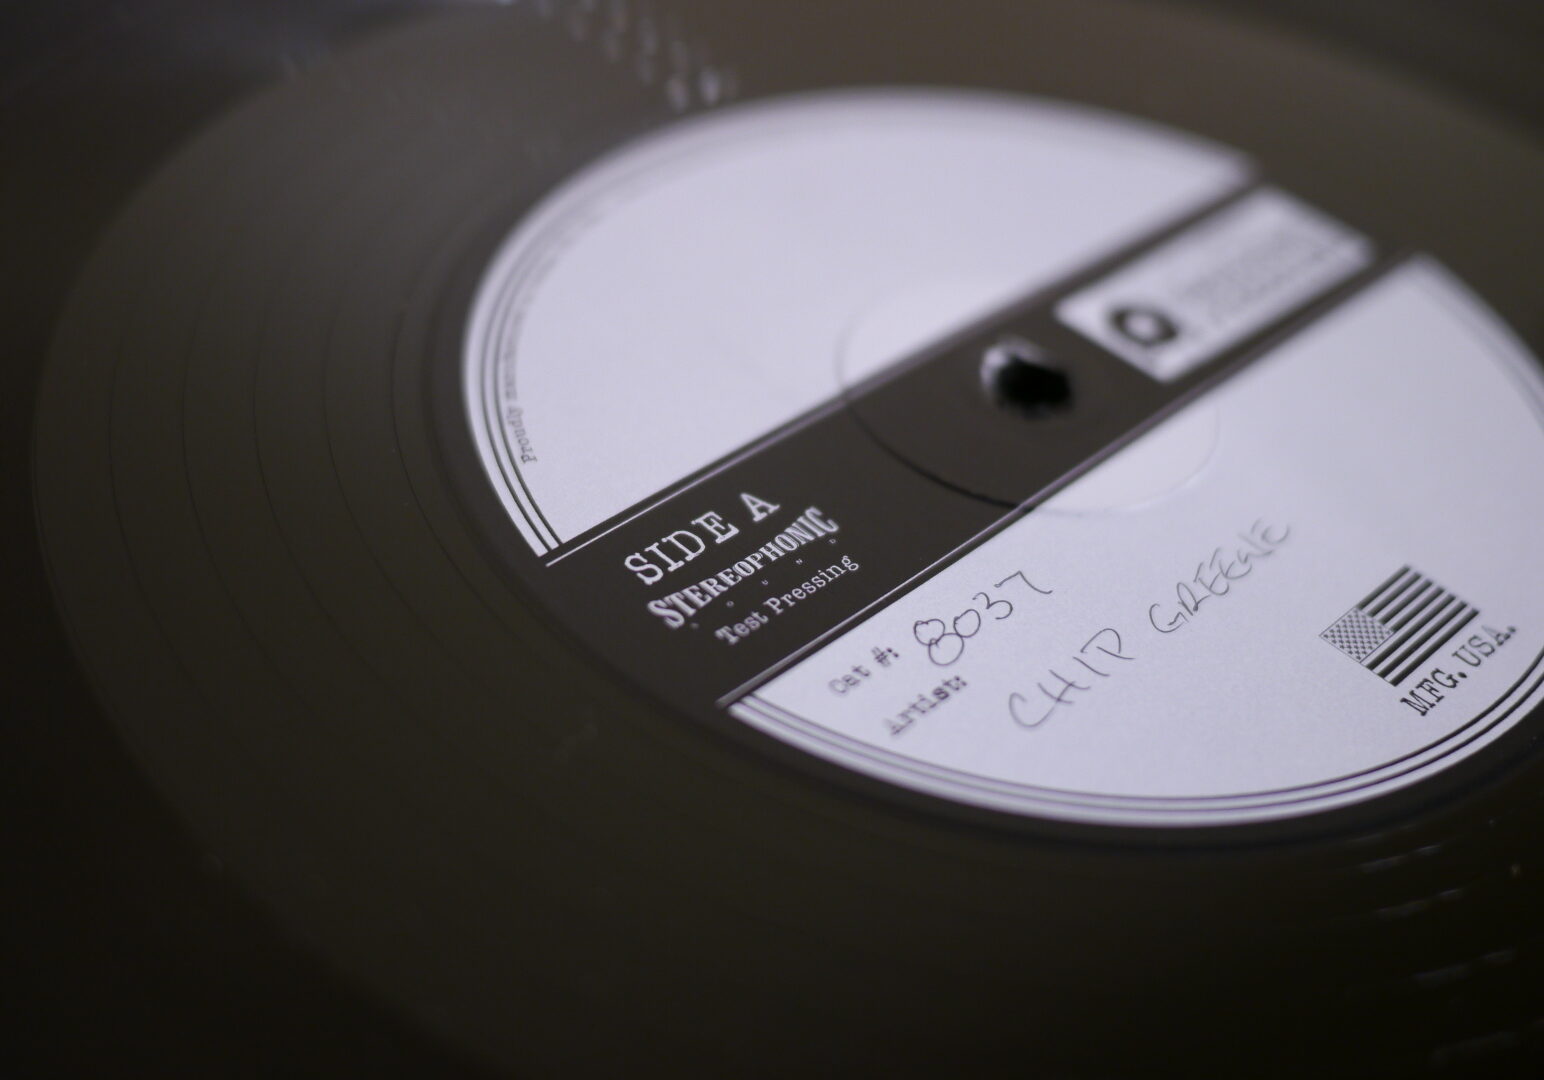
TEST PRESSING
Typically, most pressing plants will send the artist 5-10 test pressings to make sure everyone’s happy before moving forward.

